Do It Yourself

DIY: CHEESE SLICER WITH PEARL SHAFT

IMG_37352(2)

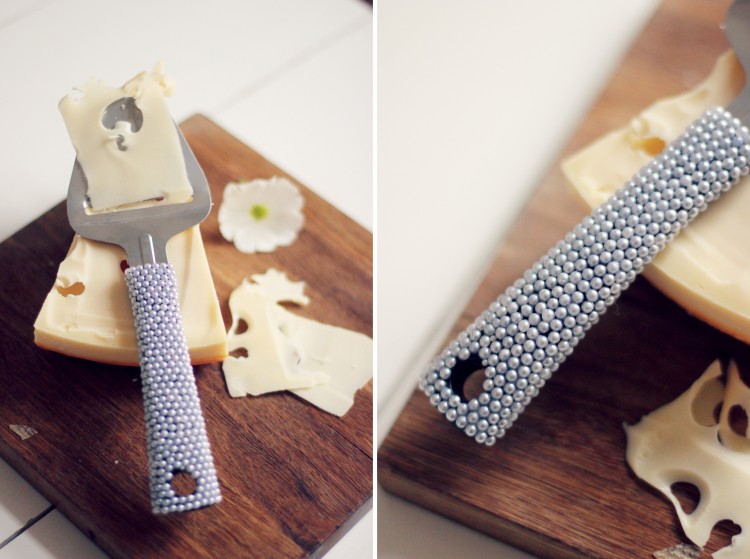
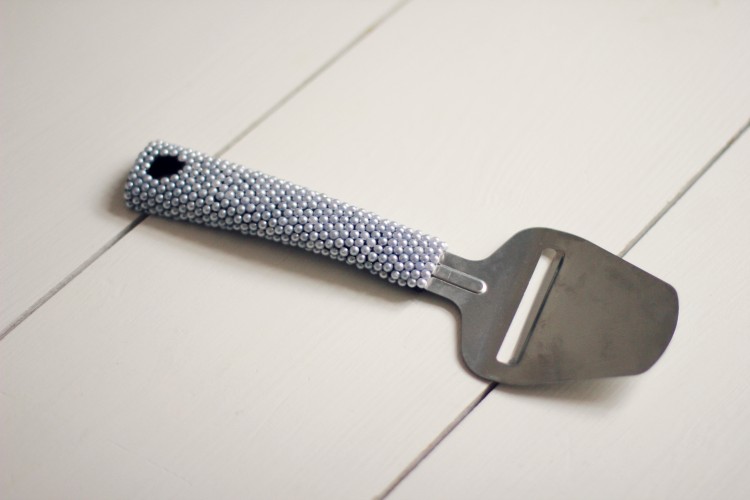
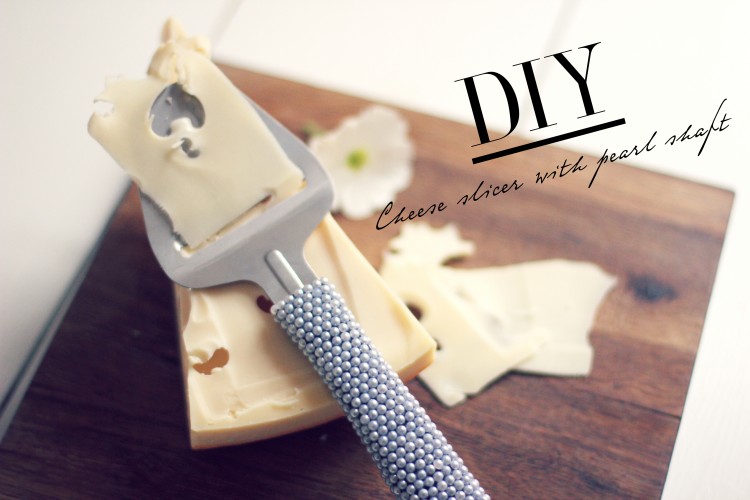
Denna DIY är egentligen väldigt simpelt (jag tror ni förstår när ni ser bilden hur jag gick till väga, haha) men det är väl mer idéen som är inspirationen. För några veckor sedan slog det mig att jag aldrig har sett en fin osthyvel. Så jag bestämde mig för att pimpa en av våra med pärlor! Jag beställde hem pärlor och läste på om vilket lim som behövdes och här om dagen satte jag igång. Det var väldigt pilligt men det tog inte så lång tid som man kanske skulle kunna tro. Efter 1,5 timme av djup koncentration hade jag denna i min hand! Jag är supernöjd.

This DIY is really simple (I think you can understand when you see the picture how I did it, haha) but it’s more the idea that is the inspiration. A few weeks ago it occurred to me that I have never seen a beautiful cheese slicer. So I decided to pimp one of ours with pearls! I ordered pearls and asked in a store what glue I needed and the other day I made it. It was very fiddly but it didn’t take as many hours as one might think. After 1.5 hours of deep concentration, I had this in my hand! I am super happy with it.

IMG_36892

Du behöver: 
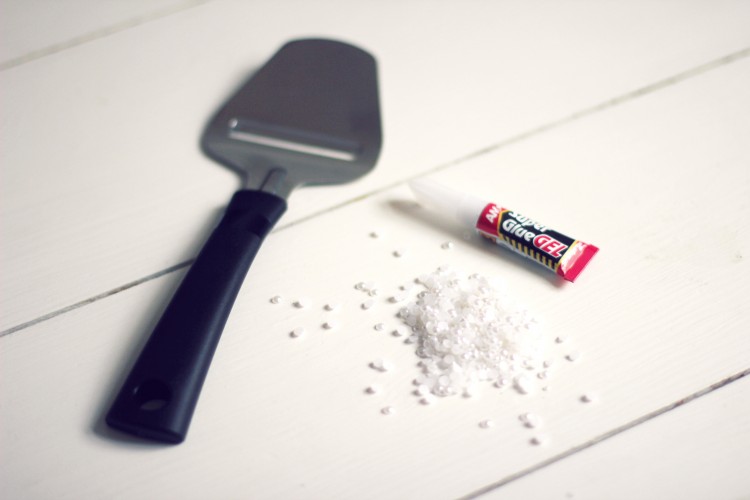
♥ En osthyvel med plast eller träskaft (inte metall, då fäster inte pärlorna)
♥  ”Halva” pärlor i valfri storlek
♥  Genomskinligt superlim

You will need:
♥  A cheese slicer with plastic or wooden shaft
♥  ”Half” pearls
♥  See through super glue

Bloggbilder ss1419

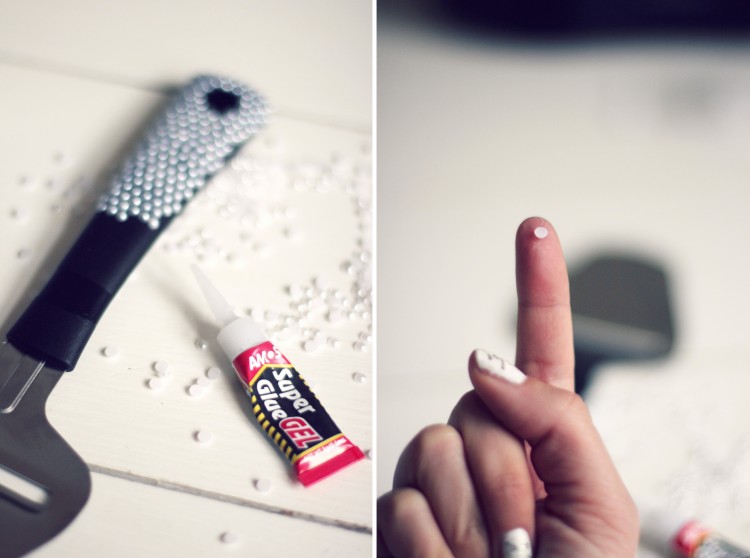
Du limmar helt enkelt bara fast pärlorna på skaftet en efter en. Det är lättast att först sätta en liten limklutt på ytan du vill fästa en pärla och sedan trycka fast pärlan i fingret med den fina sidan inåt så att du bara kan trycka dit pärlan. Detta är enklare om fingrarna är lite fuktiga så du kan ha en fuktig trasa bredvid dig. Det är väldigt svårt att pärlorna i hela raka och perfekta rader men försök att planera innan du fäster en pärla så att det blir så jämnt som möjligt! När alla pärlor är fästa kan du låta den torka i någon timme och sedan är det bara att börja använda den!

You simply just glue the pearls on the shaft one by one. It is easiest to first put a little glue on the surface you want to use and then press the pearl to your finger with the fine side inwards so that you can just push the pearl in place. This is easier if your fingers are a little damp so you can have a damp cloth next to you. It’s very difficult to keep the pearls in straight lines and but try to plan before attaching a pearl to make it as smooth as possible! When all the beads are attached, you can let it dry for an hour and then you can start using it!
Bloggbilder ss1420 IMG_37162

DIY: FLOWER VASE MADE OUT OF STICKS

IMG_04782(2)

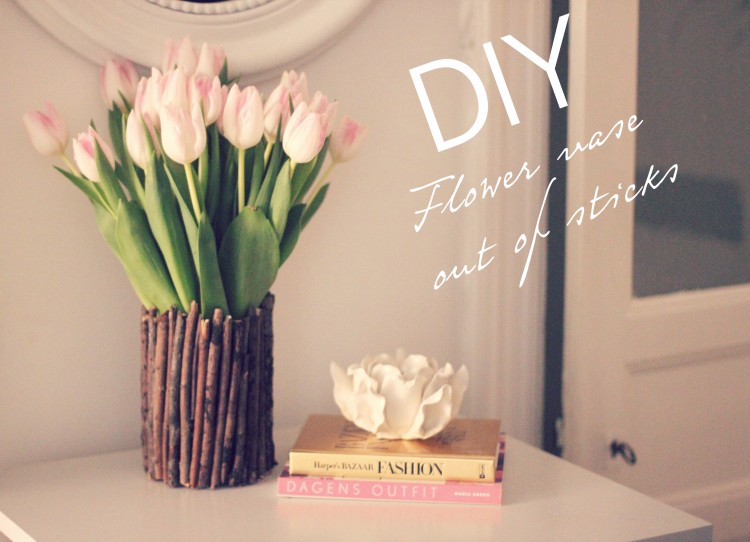
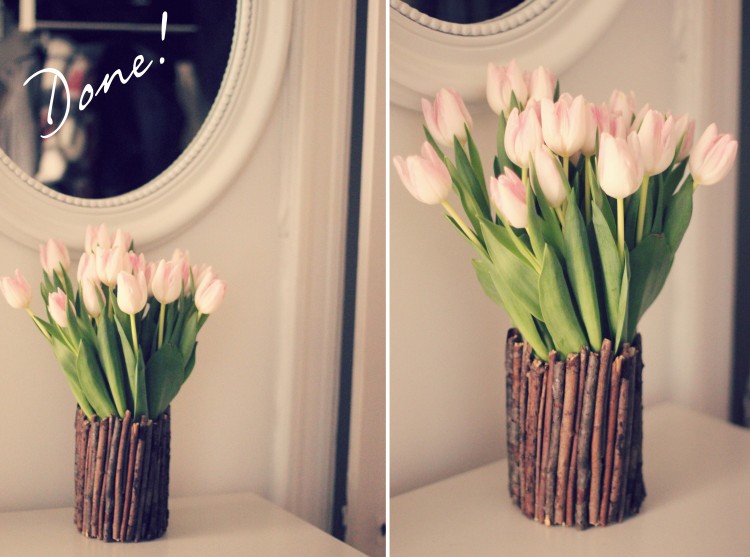
Idag ska jag visa er hur jag gick till väga när jag gjorde min fina blomstervas av pinnar. Det är verkligen hur simpelt som helst men ändå blir det blir så bra när det är klart. Jag tycker att den är så himla fin och speciell, extra härlig är den med en massa tulpaner i. Denna tror jag att jag kommer njuta mycket av under våren! / Today I’ll show you how I did when I made my nice flower vase out of sticks. It really is very simple to do but is still so beautiful when it’s done. I think that it’s so amazingly nice and special, extra wonderful with a bunch of tulips in it like I will have all spring. I think I will enjoy this a lot! Enjoy the tutorial. 

IMG_97402(2)

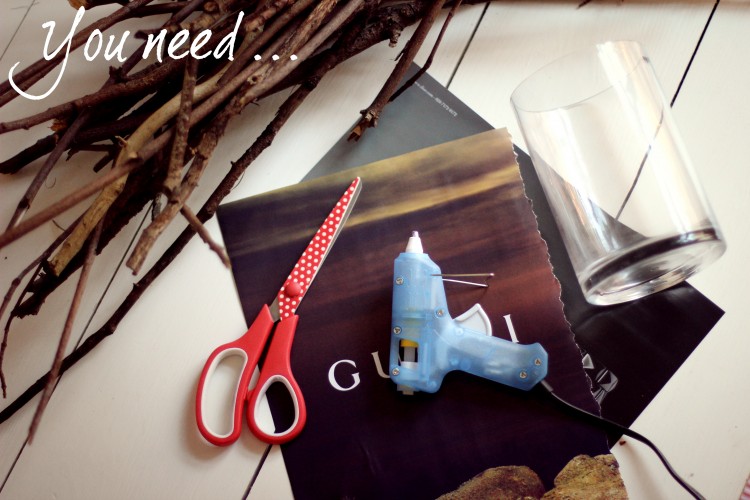
Du behöver:

♥ En enkel vas eller något som kan fungera som en vas (plåtburk, kaffeburk eller liknande)
♥ Sax
♥ Pinnar. Försök hitta så raka pinnar som möjligt och låt dem gärna ligga inne ett par dagar innan du använder dem så att de hinner torka upp ordentligt, de är mycket lättare att använda då.
♥ Limpistol
♥ Mörkt papper. Egentligen är det nog lättast med riktigt svart papper men jag hade inget hemma så jag rev ut en mörk reklamsida ur en tidning istället och det gick bra.

You will need:

♥ A simple vase or something that you can use as a vase (tin can, coffee can or similar)
♥ Scissors
♥ Sticks. Try to find as straight sticks as possible and let them be inside for a few days before using them so they can dry up, they are much easier to work with then.
♥ Glue Gun
♥ Dark paper. Actually it is probably easiest with real black paper but I didn’t have any at home so I tore out a dark advertising page from a newspaper instead and it worked too.

Bloggbilder ss141

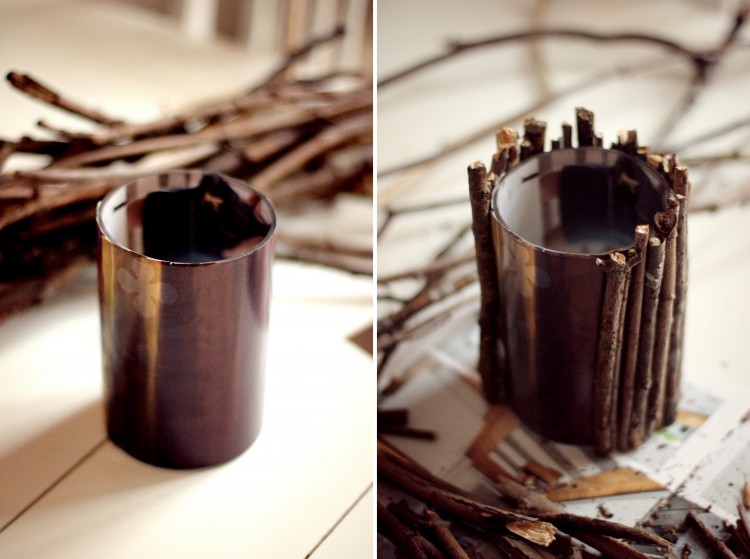
1. Klipp till pappret så att det passar runt din vas och limma fast det ordentligt. Detta gör du för att gliporna mellan pinnarna inte ska synas och för att pinnarna ska fästa bättre.

1. Cut the paper so that it fits around your vase and glue it properly. This makes the gaps between the the sticks invisible and makes the glue work better.

2. Bryt eller klipp till pinnarna så att alla är ungefär lika långa. Tänk på att göra dem någon centimeter högre än vasen.

2. Break or cut the sticks so that everyone is about the same length. Be sure to make them et least a centimeter higher than the vase.

3. Dags att börja limma. Prova så att pinnen passar med den bredvid innan du limmar, limpistolslim stelnar så himla snabbt. Pussla sedan vidare runt vasen tills den är helt täckt. Du kan använda små pinnar för att fylla större mellanrum.

3. Time to start gluing. Try if the stick fits with the one beside it before you glue, hot glue hardens so fast. Then keep gluing the sticks around the vase until it’s completely covered. You can use small sticks to fill the gaps. 

Bloggbilder ss143(2)

LUCKA 10

lucka10IMG_16642

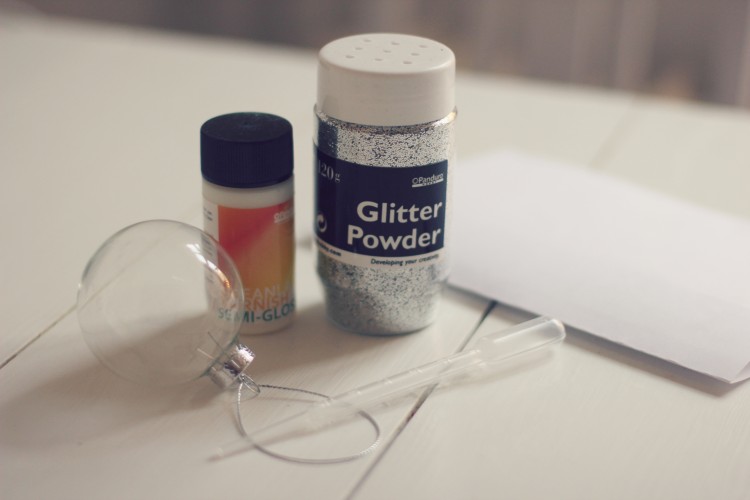
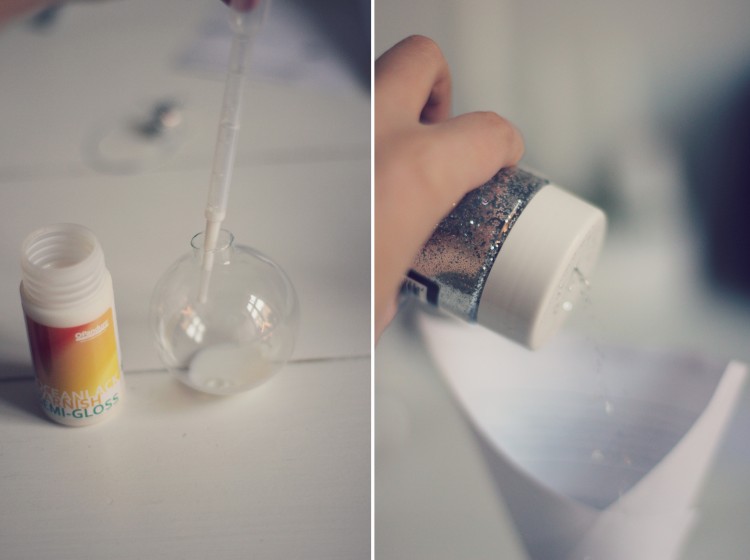
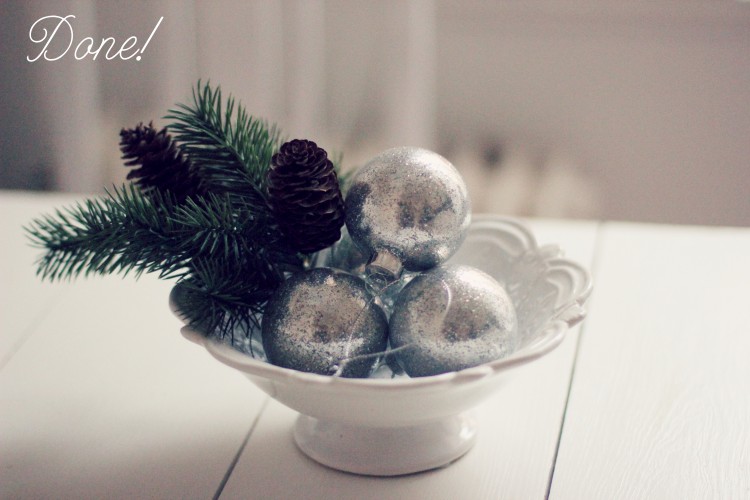
Dags för ett nytt, juligt DIY-tips! Denna gången tänkte jag visa er hur man gör sina egna, glittriga julkulor. Detta är väldigt lätt att göra och går väldigt fort, det enda som tar lite tid är torkningen. Det ni behöver för att göra detta är glaskulor, glitter i en valfri färg, en pipett, ett pappersark och oceanlack.

Time for a new, Christmassy DIY tip! This time I will show you how to make your own, glittery Christmas ornaments. This is very easy to do and it goes very fast, the only thing that takes some time is the drying. What you need to do this are glass balls, glitter in a color of your choice, a pipette, a sheet of paper and oceans varnish.

Bloggbilder ht1336

1. Ta av hänget på kulorna

1. Remove the overhang on the balls

2. Sug upp lack med hjälp av pipetten och spruta ner det i kulan. Vrid och vänd sedan på kulan så att alla ytor är täckta med lack. Finns det något lack över kan du låta det rinna ut.

2. Fill the pipette with oceans varnish and inject it into the ball. Twist and turn the ball so that all surfaces are covered with lacquer. Is there any varnish over you can let it drain out.

3. Gör en strut med ett litet hål i botten av ditt pappersark och häll med hjälp av den glitter ner i kulan. Vänd och vrid på samma sätt som innan så att glittret täcker alla ytor i kulan.

3. Make a cone with a small hole in the bottom of your sheet of paper and pour the glitter into the ball using the cone. Flip and rotate the same way as before so that the glitter covers all surfaces of the ball.

4. Låt kulorna torka under natten utan hänge.

4. Let the balls dry during the night without the overhang

IMG_18062(2)

Metro Mode Club

SE ALLT
metro mode rekommenderar

Signa upp dig till vårt nyhetsbrev!